
Manage trades by protecting capital first: set risk per trade, place a stop, and predefine how you will scale exits. Cap risk at a fixed percentage of your account, using the 2% Rule as a baseline, then decide your stop type and exit sequence before you click buy. These three elements, risk cap, stop, and exit plan, turn a guess into a repeatable process.
TL;DR:
- Calculate position size by dividing dollar risk by the distance between entry and stop, then verify contract multipliers, tick values, and margin requirements.
- Place stops beyond recent swing levels with a 1 to 1.5 times ATR buffer; stop orders can slip, while stop limits may not fill.
- At the first target, sell one third, move the rest’s stop to breakeven, and trail remaining shares using ATR or price structure.
- After a stop out, pause 15 minutes before trading again; enforce a daily loss cap and log each trade’s setup, size, stop, and outcome.
- Track total open risk and sector overlap; several same sector positions can act like one oversized bet, despite individual trades meeting their risk limits.
Table of Contents
- 1. Position sizing, the 2% rule, and risk budgeting
- 2. Stop placement and types: fixed, ATR, and trailing
- 3. Scaling in and out: partial entries and staged exits
- 4. Order types, execution quality, and slippage control
- 5. Behavioral controls and the trade journal
- 6. A trade-plan template and how decision intelligence helps
- 7. How to monitor and adjust a trade after entry
- 8. Risk-reward assessment and setting profit targets
- 9. Using technical indicators to guide management decisions
- 10. Managing multiple open positions and portfolio balance
- 11. Exit strategies beyond stop-loss and profit targets
- Priorities for sustainable trading progress
- EI ALGOS as a check on your trade-management rules
- FAQ
- Sources
1. Position sizing, the 2% rule, and risk budgeting
Position size is not a feeling. It is a calculation that starts with how much money you are willing to lose on a single trade.
The 2% Rule caps your risk at 2% of total account equity per trade. This single number becomes the anchor for every other calculation you make before entering a trade.
Once you know your dollar risk, convert it into shares or contracts using your stop distance. Say a stock trades at $80 and your stop sits at $76, a $4 stop distance. Divide your $1,000 risk by $4, and you get 250 shares as your maximum position size. The same math applies to futures and options, adjusted for contract multipliers and tick values, which is why checking margin requirements matters before you finalize size.
Cutting size in these windows protects you from gaps and erratic fills that no stop can fully control.
Before entering any trade, run through this sequence:
- Compute your account risk in dollars (account size multiplied by your risk percentage).
- Measure your stop distance from entry to planned stop price.
- Calculate position size by dividing dollar risk by stop distance.
- Confirm margin availability and contract specifications before submitting the order.
For traders who want worked examples across different instruments, the position-sizing methods guide walks through fixed-fractional and ATR-based variants side by side.
2. Stop placement and types: fixed, ATR, and trailing
Not every stop belongs in the same place, and not every market calls for the same stop type.
A fixed stop sits at a set dollar or percentage distance from entry, simple to calculate but blind to current volatility. An ATR-based stop adjusts to how much a security actually moves, which keeps you from getting stopped out by routine noise in a volatile name while still protecting capital in a quiet one.
Common stop-placement heuristics include:
- Place stops beyond recent swing highs or lows rather than at round numbers everyone else is watching.
- Add a volatility buffer of roughly 1 to 1.5 times the Average True Range to avoid premature exits on normal price swings.
- Use stop-limit orders around earnings or news events when you want price control, accepting the risk of a non-fill during a fast gap.
- Apply a time stop when a trade has not moved as expected within your planned holding window, exiting on thesis failure rather than price failure.
- Trail stops upward after price confirms direction, and tighten them further once you have taken partial profits.
Pro Tip: Combine a wider ATR-based stop for the bulk of your position with a tighter time stop, so a stalled trade exits on schedule even before volatility triggers the price stop.
As the SEC's guidance on stop orders notes, a stop order becomes a market order once triggered, which means it can suffer slippage during fast moves. A stop-limit order avoids that slippage but may not fill at all if price gaps past your limit price.
3. Scaling in and out: partial entries and staged exits
Scaling turns an all-or-nothing bet into a managed process with room to adjust as the trade develops.

Scale into a position when you want confirmation before committing full size, using limit orders to control your entry price in a liquid market. Reserve full-size entries for setups where your signal is already confirmed and waiting risks missing the move entirely.
A workable exit sequence looks like this:
- Take profit on one third of the position at your first target.
- Move your stop to breakeven on the remaining size once the first target is hit.
- Trail the final two thirds using an ATR-based or structure-based stop to capture extended moves.
- Reassess the plan only at predefined checkpoints, not on every price tick.
Other approaches include fixed-fraction scaling, where you add to winners in preset increments, laddered target levels set at multiple price points in advance, and time-based exits that close a portion of the trade after a set holding period regardless of price. Each scale-out changes your effective risk-reward ratio on the remaining shares, since your cost basis and stop distance shift with every partial exit.
4. Order types, execution quality, and slippage control
The order type you choose determines how much control you keep over price versus speed.
A market order fills fast but accepts whatever price is available, a limit order holds your price but may not fill, and a stop-limit order combines a trigger with a price floor or ceiling at the cost of a potential non-fill. The SEC's trading basics materials walk through these trade-offs for retail investors weighing speed against price certainty.
Execution quality extends beyond the order type itself. The SEC's review of equity market structure discusses order-routing and execution-quality reporting under Rules 605 and 606, areas where traders benefit from understanding how their broker handles and routes orders.
Practical tactics to reduce slippage:
- Use limit orders for exits when you expect volatility around news or data releases.
- Break large orders into smaller slices rather than submitting one block order into thin liquidity.
- Avoid market-on-open or market-on-close orders in fast-moving or illiquid names.
A stop order triggers a market order at your stop price, which can result in a fill far from that level during a fast market, a gap the SEC explicitly warns about. Understanding this mechanic before you place a stop changes how you size your position around it.
5. Behavioral controls and the trade journal
Rules only work if something stops you from breaking them in the moment.
Research on retail trading behavior documents the disposition effect: a tendency to sell winners too early and hold losers too long, driven by loss aversion rather than analysis. A study on retail forex trading found that traders often increase position size after a winning streak, a pattern tied to overconfidence and, in aggregate, worse performance.
Build enforceable rules around that tendency:
- Set a daily equity loss cap that forces you to stop trading once hit.
- Limit your maximum number of trades per day or week to prevent overtrading after a loss or a win.
- Require a cooling-off period, even 15 minutes, after any stopped-out trade before entering the next one.
- Log every trade with setup name, size, stop level, entry trigger, emotional state, and outcome.
Pro Tip: Pre-commit to a decision-check step, a rule, a checklist, or a second person, that must approve any size increase above your standard risk before you submit the order.
6. A trade-plan template and how decision intelligence helps
A trade plan written down before entry removes most of the guesswork that leads to rule-breaking mid-trade.
A compact template includes:
- Setup name and the condition that triggers it.
- Dollar risk for the trade, based on your account risk percentage.
- Position size calculation from risk and stop distance.
- Initial stop type and price.
- Scale and exit plan, including partial profit levels.
- Contingency rules for news events or unexpected volatility.
CME Group's trade-plan materials offer a similar structure, with fields for time-of-day constraints and risk limits that you can adapt directly.
Scoring a setup on behavioral factors, impulsivity, confirmation bias, sizing consistency, can flag likely management errors before they happen, which is where a decision-intelligence layer adds value alongside your written rules.
7. How to monitor and adjust a trade after entry
A trade plan is not a set-and-forget document. Once you are in a position, your job shifts from analysis to monitoring.
Schedule a review at each predefined checkpoint: when price reaches your first target, when your time stop approaches, or when a scheduled event (earnings, a Fed announcement) is imminent. At each checkpoint, ask only three questions: has my original thesis changed, has volatility shifted enough to adjust my stop, and have I already taken my planned partial profit.
Avoid making mid-trade decisions based on unscheduled price checks. Constantly watching a position invites impulsive adjustments, tightening a stop out of fear or removing one out of hope, that deviate from the plan you set before entry. A brief end-of-day review, rather than tick-by-tick monitoring, catches most of what actually needs adjusting: a stop that needs to trail further, a thesis that no longer holds, or a position that has quietly grown too large relative to the rest of your book.
8. Risk-reward assessment and setting profit targets
Every trade needs a target set from structure and volatility, not from a round number you picked because it felt satisfying.
Identify a realistic risk-reward ratio before entry by comparing your stop distance to the distance to the nearest resistance, support, or prior swing point. A trade risking $1 to make $2 is a workable baseline, but the right ratio shifts with market condition: trending markets with room to run justify wider targets, while choppy, range-bound markets call for closer targets and faster profit-taking. Setting a target that assumes trending behavior in a range-bound market is a common way a good entry turns into a breakeven trade or a loss.
Revisit your target, not your stop, if volatility expands significantly after entry. A target set during a quiet period may be too conservative once the market starts trending, and a laddered approach, taking partial profit at an initial target while letting the rest run, captures both outcomes without requiring a perfect forecast.
9. Using technical indicators to guide management decisions
Indicators work best as management tools, not entry signals alone.
Moving averages can define a trailing stop level rather than a trigger, for instance, exiting a long position only when price closes below a 20-day moving average rather than on every intraday dip below it. The Average True Range sets your stop distance and helps you judge whether current volatility justifies holding through a pullback or tightening risk. Momentum indicators like RSI can flag when a trend is stretched enough to take partial profit, rather than signaling a fresh entry.
Use indicators to confirm what your trade plan already says to do, not to override it. A plan that says trail the stop below the 20-day moving average should not get abandoned because RSI looks overbought, since overbought conditions can persist for extended periods in a strong trend. The discipline is in letting the indicator inform the predefined rule, not replace it with a new judgment call mid-trade.
10. Managing multiple open positions and portfolio balance
Risk management does not stop at the single-trade level once you are holding more than one position.
Track your total open risk across all positions, not just each trade's individual risk cap. Watch for correlation, too: five long positions in the same sector behave like one oversized trade when that sector moves against you, even though each position looks properly sized in isolation.
Rebalance by trimming the weakest position in the book when a strong new setup appears, rather than stacking risk on top of risk.
11. Exit strategies beyond stop-loss and profit targets
Not every exit is triggered by price. Some of the most useful exits are triggered by time or by events.
A time-based exit closes a position after a set holding period regardless of where price sits, useful for swing trades where a thesis that has not played out within a defined window is treated as invalid rather than given indefinite room. An event-driven exit closes or reduces a position ahead of a known catalyst, an earnings release, an economic data print, a Fed decision, when the trade plan did not explicitly account for holding through that event.
Both exit types share a common purpose: they remove the need to make a fresh decision under pressure. Deciding in advance that you will exit before earnings, or that a trade gets closed after ten trading days without reaching target, takes a real-time judgment call and turns it into a rule you already agreed to follow.
Priorities for sustainable trading progress
Lasting improvement in trading comes from refining process, not chasing a single result. Treat every rule change as a small live test, track it over a defined run of trades, and review the outcome before scaling it up. Use the trade-plan template and journal consistently, since the data they generate is what actually tells you which rules are working.
— Anantha
EI ALGOS as a check on your trade-management rules
Written rules help, but they only work if something catches you before you break one. EI ALGOS is built as a decision intelligence platform for self-directed traders: it scores each setup across six behavioral factors and flags patterns like impulsive oversizing before you click submit, rather than handing you a signal to follow. An AI assistant can turn behavioral scoring into personalized feedback on trading patterns over time.
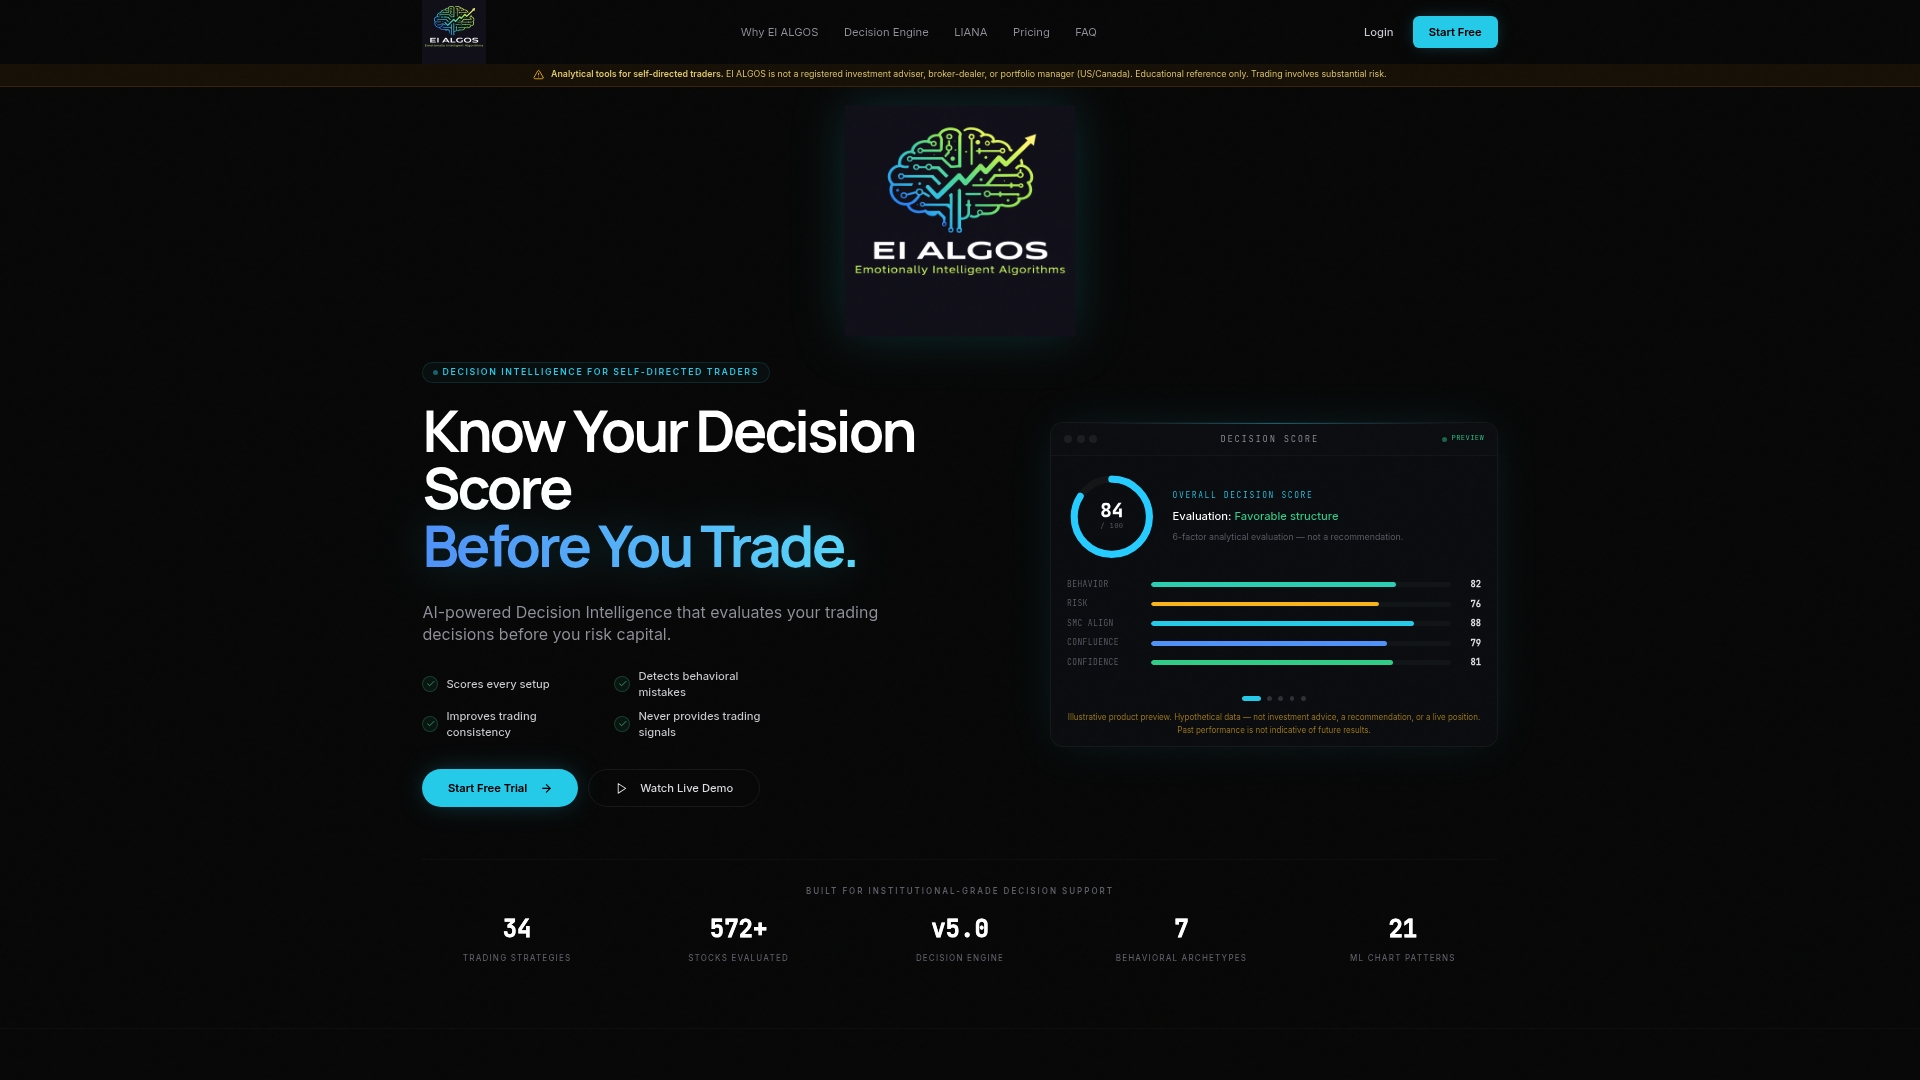
If you want a data-backed check on your own decision-making alongside the rules in this guide, the Free plan is a low-friction way to see your first setup score.
This article is general information, not a substitute for advice from a qualified financial advisor. Consult a qualified financial professional about your own circumstances before acting on anything here.
FAQ
What are some popular trading strategies?
Popular trade-management strategies combine fixed risk limits (such as the 2% Rule) with stop types matched to volatility, like ATR-based stops, and staged profit-taking that scales out of a position in parts. Trend-following, mean-reversion, and breakout setups all rely on these same management rules even though their entry signals differ.
Why do most traders lose money?
Underperformance is often tied to behavioral patterns rather than bad entries alone. Research on retail traders found that many increase position size after winning streaks, a pattern linked to overconfidence and worse aggregate results, which is why pre-commitment rules around sizing matter as much as the trade thesis itself.
What is the 3-5-7 rule in day trading?
It is one variant among several risk-budgeting approaches, and traders should confirm the specific thresholds fit their own account size and risk tolerance.
How should I set my stop-loss distance?
Base your stop distance on recent price structure and current volatility rather than a fixed percentage alone, commonly using 1 to 1.5 times the Average True Range as a buffer beyond a swing high or low. This keeps the stop wide enough to tolerate normal noise while still capping your loss at the dollar amount your position-sizing math calls for.